Step 1: Erect the Scaffolding- To ensure safety for the installation team, scaffolding will be erected around your house.
To get the most out of your solar panel system, the installation of your solar panels must be done properly; otherwise, your panels won't operate at their highest efficiency level.
You can find out more about the installation of solar panels in the video that follows.
An MCS-certified installer will visit and inspect your roof prior to installing your solar panels. They will examine fundamental elements including the size, shape, and strength of the roof as well as its direction and angle (to know how much weight it can hold).
Please refer to our simple 7-step tutorial below for an overview of the solar panel installation procedure:
Step 1: Erect the Scaffolding- To ensure safety for the installation team, scaffolding will be erected around your house.
Step 2: Attach Roof Anchors- The scaffolding is erected before the installation crew shows up. The first step for the team is to install the roof anchors, which will support the solar panel foundation. Depending on the style of roof tiles on your home, different types of anchors are employed.
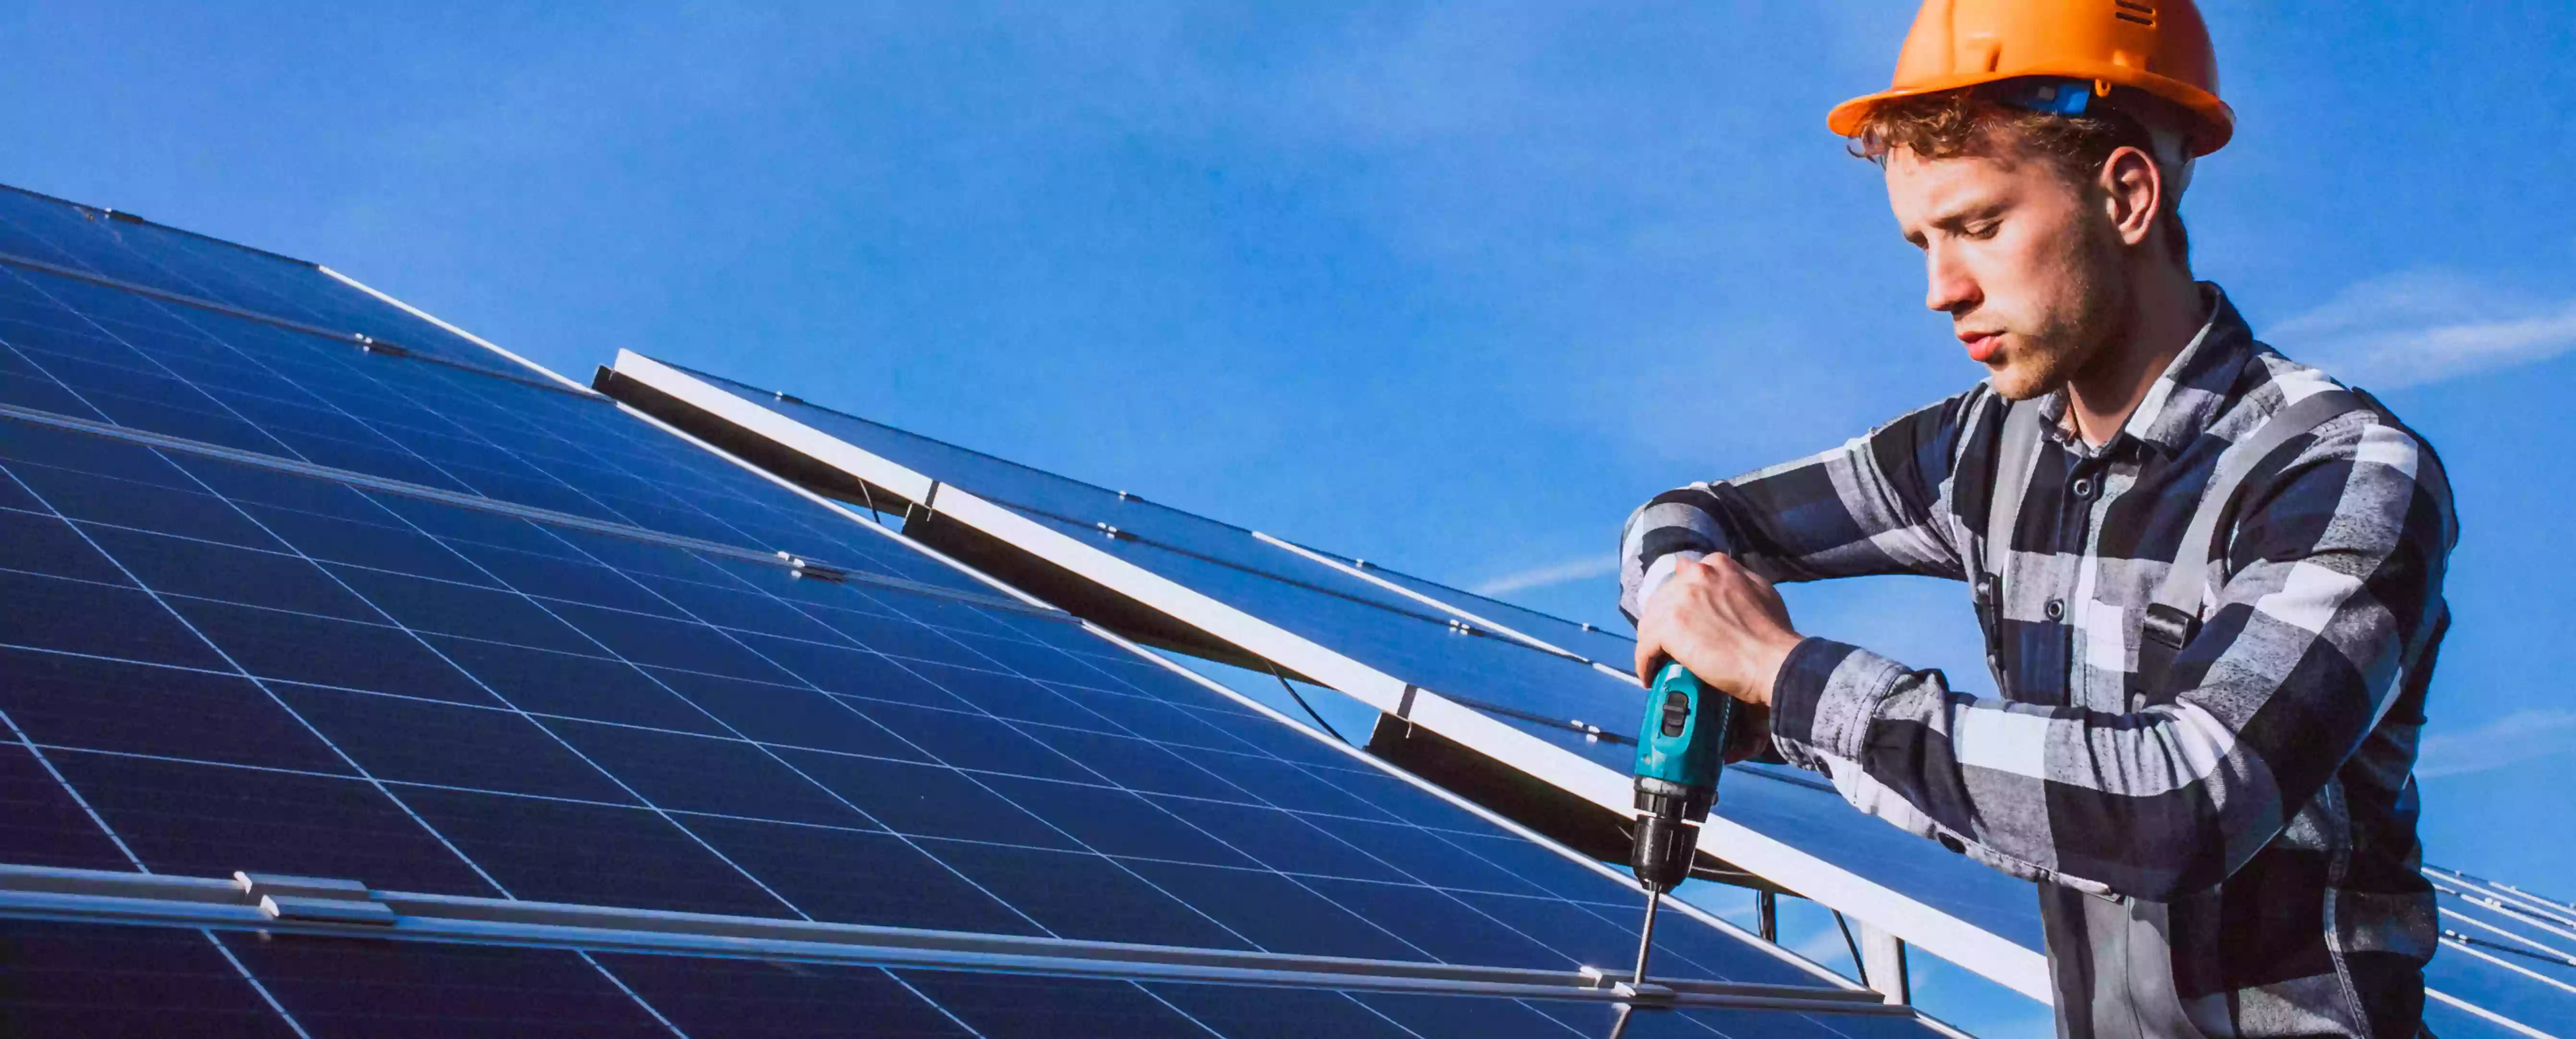
Step 3: Attach the Frame- The frame, which is made up of aluminum bars, needs to be attached after the anchors have been put in place. The bars must be attached parallel to one another and in a straight line.
Step 4: Install the Solar Panels- The solar panel installation can start after the frame has been installed. The panels are clamped to the aluminum frame, although initially not too firmly so that there is room to later gently alter them. Once every panel is positioned, it is firmly fastened to the frame.
Step 5: Wire the Solar Panels- The panels must now be wired after being firmly secured to the frame. The panels often arrive wired from the manufacturer. These wires must, however, be linked to the inverter, which is usually found in the attic.
The solar arrays inverter is a part that transforms the solar panels' absorbed energy into AC electricity so that home appliances may use it.
The part of a solar module with the shortest lifespan is an inverter. Every 10 to 15 years, high-quality inverters should be replaced. Replacement costs for solar PV inverters can vary based on a number of factors, but they normally start around £500.
During the time of the wiring installation, the electricity supply to the household will need to be shut off.
Step 6: Make Final Connections to the Consumer Unit- The last connections to the consumer unit will be performed when the panels are wired to the inverter. Additionally, a generation meter will be installed to track how much electricity your solar panels actually generate. Solar panels and smart meters complement each other extremely well and can greatly simplify meter reading.
Step 7: Test the Solar Panels- The installation needs to be tested after the panels, inverter, and generation meter are all connected. The process of installing solar panels will be finished after this is finished.
For the majority of household solar panel installations, including PV and heating installations, in England, Scotland, and Wales, no planning clearances are necessary.
However, there are limitations on installations of particular sizes. You must first request authorization if your solar panels protrude more than 200 mm from your roof.
Additionally, you must follow specific planning permission guidelines. If your structure is located in a conservation area.